AWS Amplify Framework (JavaScript) には、Vue.jsで使える便利な Vue Componentが用意されています。
- Vue - AWS Amplify JavaScript
- https://github.com/aws-amplify/amplify-js/tree/master/packages/aws-amplify-vue
ここには
- SignIn
- ConfirmSignIn
- SignUp
- ConfirmSignUp
- ForgotPassword
などがあります。
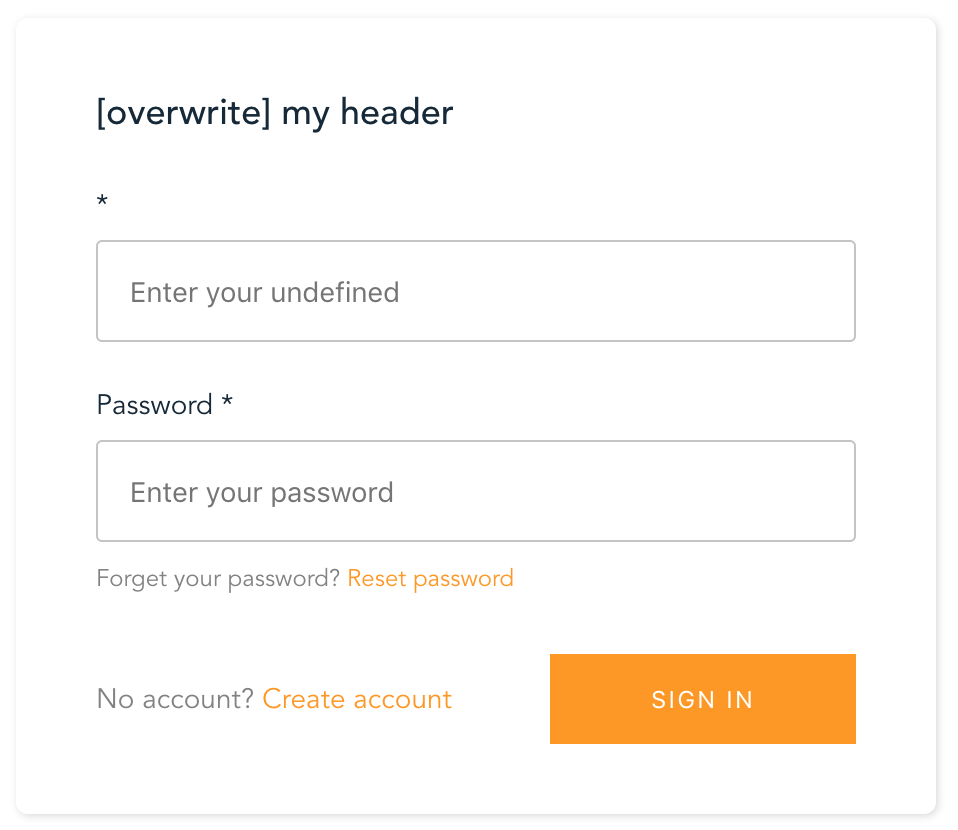
試しにSignInを使うと、こんな感じの表示になります。

さらに、ドキュメントを見ると、headerやusernameが変更できそうでした。
https://aws-amplify.github.io/docs/js/vue#signin
そこで、 signInConfig を渡そうと
<template>
  <amplify-sign-in v-if="!signedIn"
                   v-bind:signInConfig="options.signInConfig">
  </amplify-sign-in>
</template>

<script>
  import { components } from 'aws-amplify-vue'

  export default {
    name: 'app',
    components: {
      components
    },

    data: function () {
      return {
        options: {
          signInConfig: {
            header: '[overwrite] my header',
            username: '[overwrite] my name'
          },
        },
        signedIn: false,
      }
    }
  }
</script>
としたところ、

と、headerは変更できたものの、usernameが消えてしまいました。
そこで試したことをメモしておきます。
目次
環境
対応
aws-amplify-vueのソースコードを読んだところ、 usernameAttributes を渡せば良さそうでした。
- https://github.com/aws-amplify/amplify-js/pull/3103/files?file-filters%5B%5D=.vue
- https://github.com/aws-amplify/amplify-js/blob/df17ed14d531c5474679d7315e1cc94d4a83bf09/packages/aws-amplify-vue/src/components/authenticator/UsernameField.vue#L17
そのため、
<template>
  <amplify-sign-in v-if="!signedIn"
                   v-bind:signInConfig="options.signInConfig"
                   v-bind:usernameAttributes="options.usernameAttributes">
  </amplify-sign-in>
</template>

<script>
...
    data: function () {
      return {
        options: {
          signInConfig: {
            header: '[overwrite] my header',
          },
          usernameAttributes: '[overwrite] my user name',
        },
...
</script>
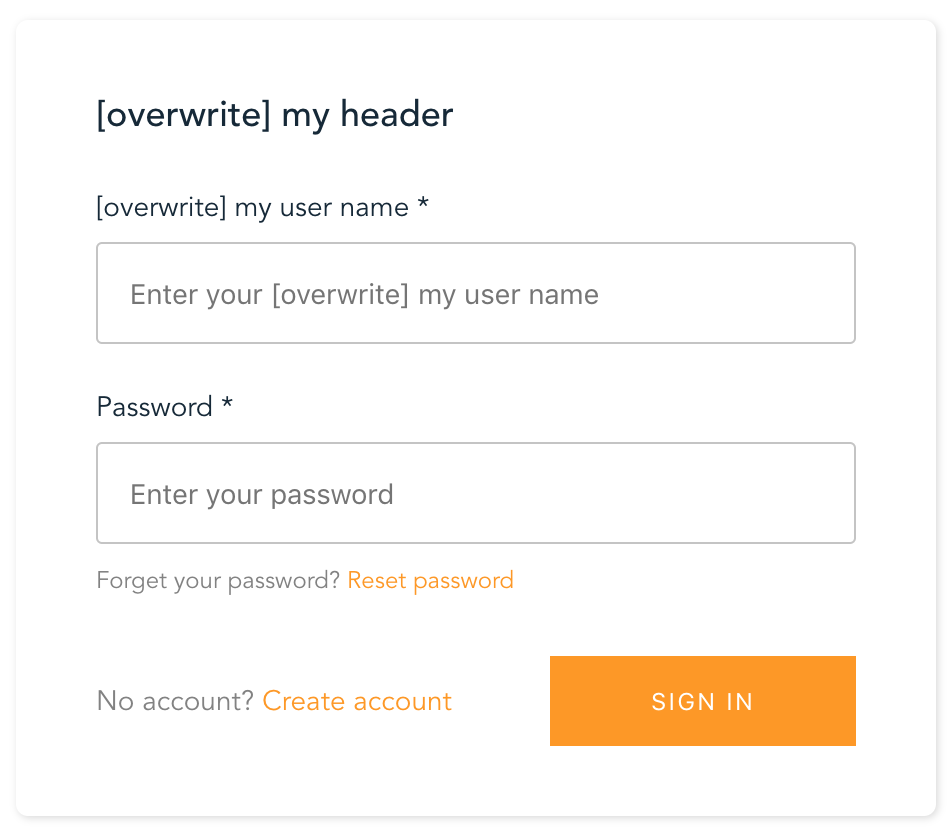
としたところ、

と、username も変更できました。
ソースコード
Githubに上げました。 amplify_vue/src/views/SignInOnly.vue あたりが今回のファイルです。
https://github.com/thinkAmi-sandbox/AWS_AppSync_Amplify-sample
その他
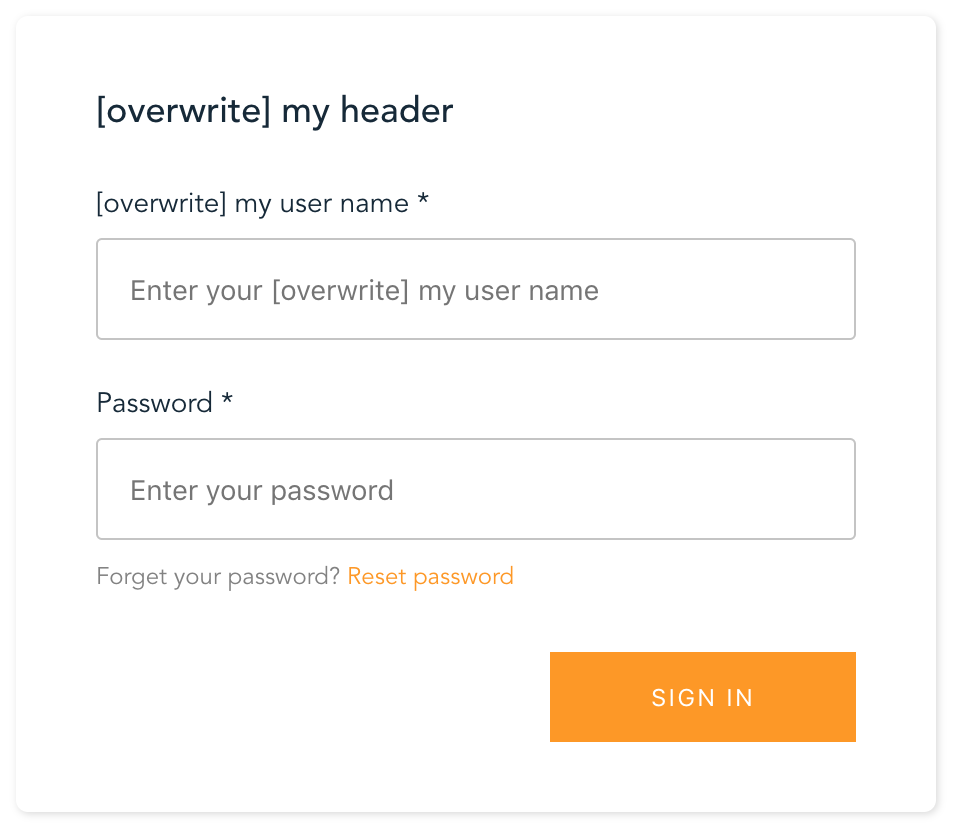
No account? Create account を非表示にする
左下にある、 No account? Create account を非表示にするには、isSignUpDisplayed: false にすれば良いようです。
参考:aws-amplify-vueで作成した認証画面でSignUpをさせないようにする - Qiita

環境構築
この環境を構築した手順も残しておきます。基本は、Getting Startedに従い作っていきます。
https://aws-amplify.github.io/docs/js/start?platform=vue
$ node -v
v10.16.0

$ npm install -g @vue/cli

# Vue.jsのプロジェクトを作る
$ vue create amplify_vue

Vue CLI v3.9.2
? Please pick a preset: Manually select features
? Check the features needed for your project: Router, Vuex
? Use history mode for router? (Requires proper server setup for index fallback in production) Yes
? Where do you prefer placing config for Babel, PostCSS, ESLint, etc.? In package.json
? Save this as a preset for future projects? No

# amplifyで必要なものをインストール
$ cd amplify_vue
$ npm install --save aws-amplify
$ npm install --save aws-amplify-vue

# 初期化
$ amplify init
Note: It is recommended to run this command from the root of your app directory
? Enter a name for the project amplify_vue
? Enter a name for the environment dev
? Choose your default editor: IDEA 14 CE
? Choose the type of app that you're building javascript
Please tell us about your project
? What javascript framework are you using vue
? Source Directory Path:  src
? Distribution Directory Path: dist
? Build Command:  npm run-script build
? Start Command: npm run-script serve
Using default provider  awscloudformation

For more information on AWS Profiles, see:
https://docs.aws.amazon.com/cli/latest/userguide/cli-multiple-profiles.html

? Do you want to use an AWS profile? Yes
? Please choose the profile you want to use default
今回は amplify add ... 系は不要なので、ここまでで環境ができます。